


Adding weathering to your locomotives for the first time might appear frightening. That’s why Jon Hill of Milepost 70 Customs shared his weathering techniques with us for this week’s Time to Model™ feature article. Using a Rivet Counter™ HO Scale Union Pacific DASH 9 locomotive, Jon walks you through his step-by-step instructions for his preferred method of adding realistic road grime to new locomotives. Learn his techniques below.
Weathering a ScaleTrains HO Scale DASH 9
An Article by Jon Hill
It’s amazing what a nice weathering job can do for a model. Plenty of people can be apprehensive about weathering and detailing their models. Maybe, this will show it’s not as daunting, and might be fun to do!
We will need a few supplies to do this project. Here's a run down:
- Airbrush
- Tamiya tape or yellow frog brand tape
- Acrylic Thinner
- Tamiya Acrylic Paints, XF1 Flat Black, XF10 Red Brown
- Badger Modelflex Paints, Antique White and Rail Brown
- Tamiya Panel Wash, Black and Dark Brown
- Fine point Paintbrushes
- Mineral Spirits
- Fine point micro cotton swabs
- Model Master Flat Clear Acrylic
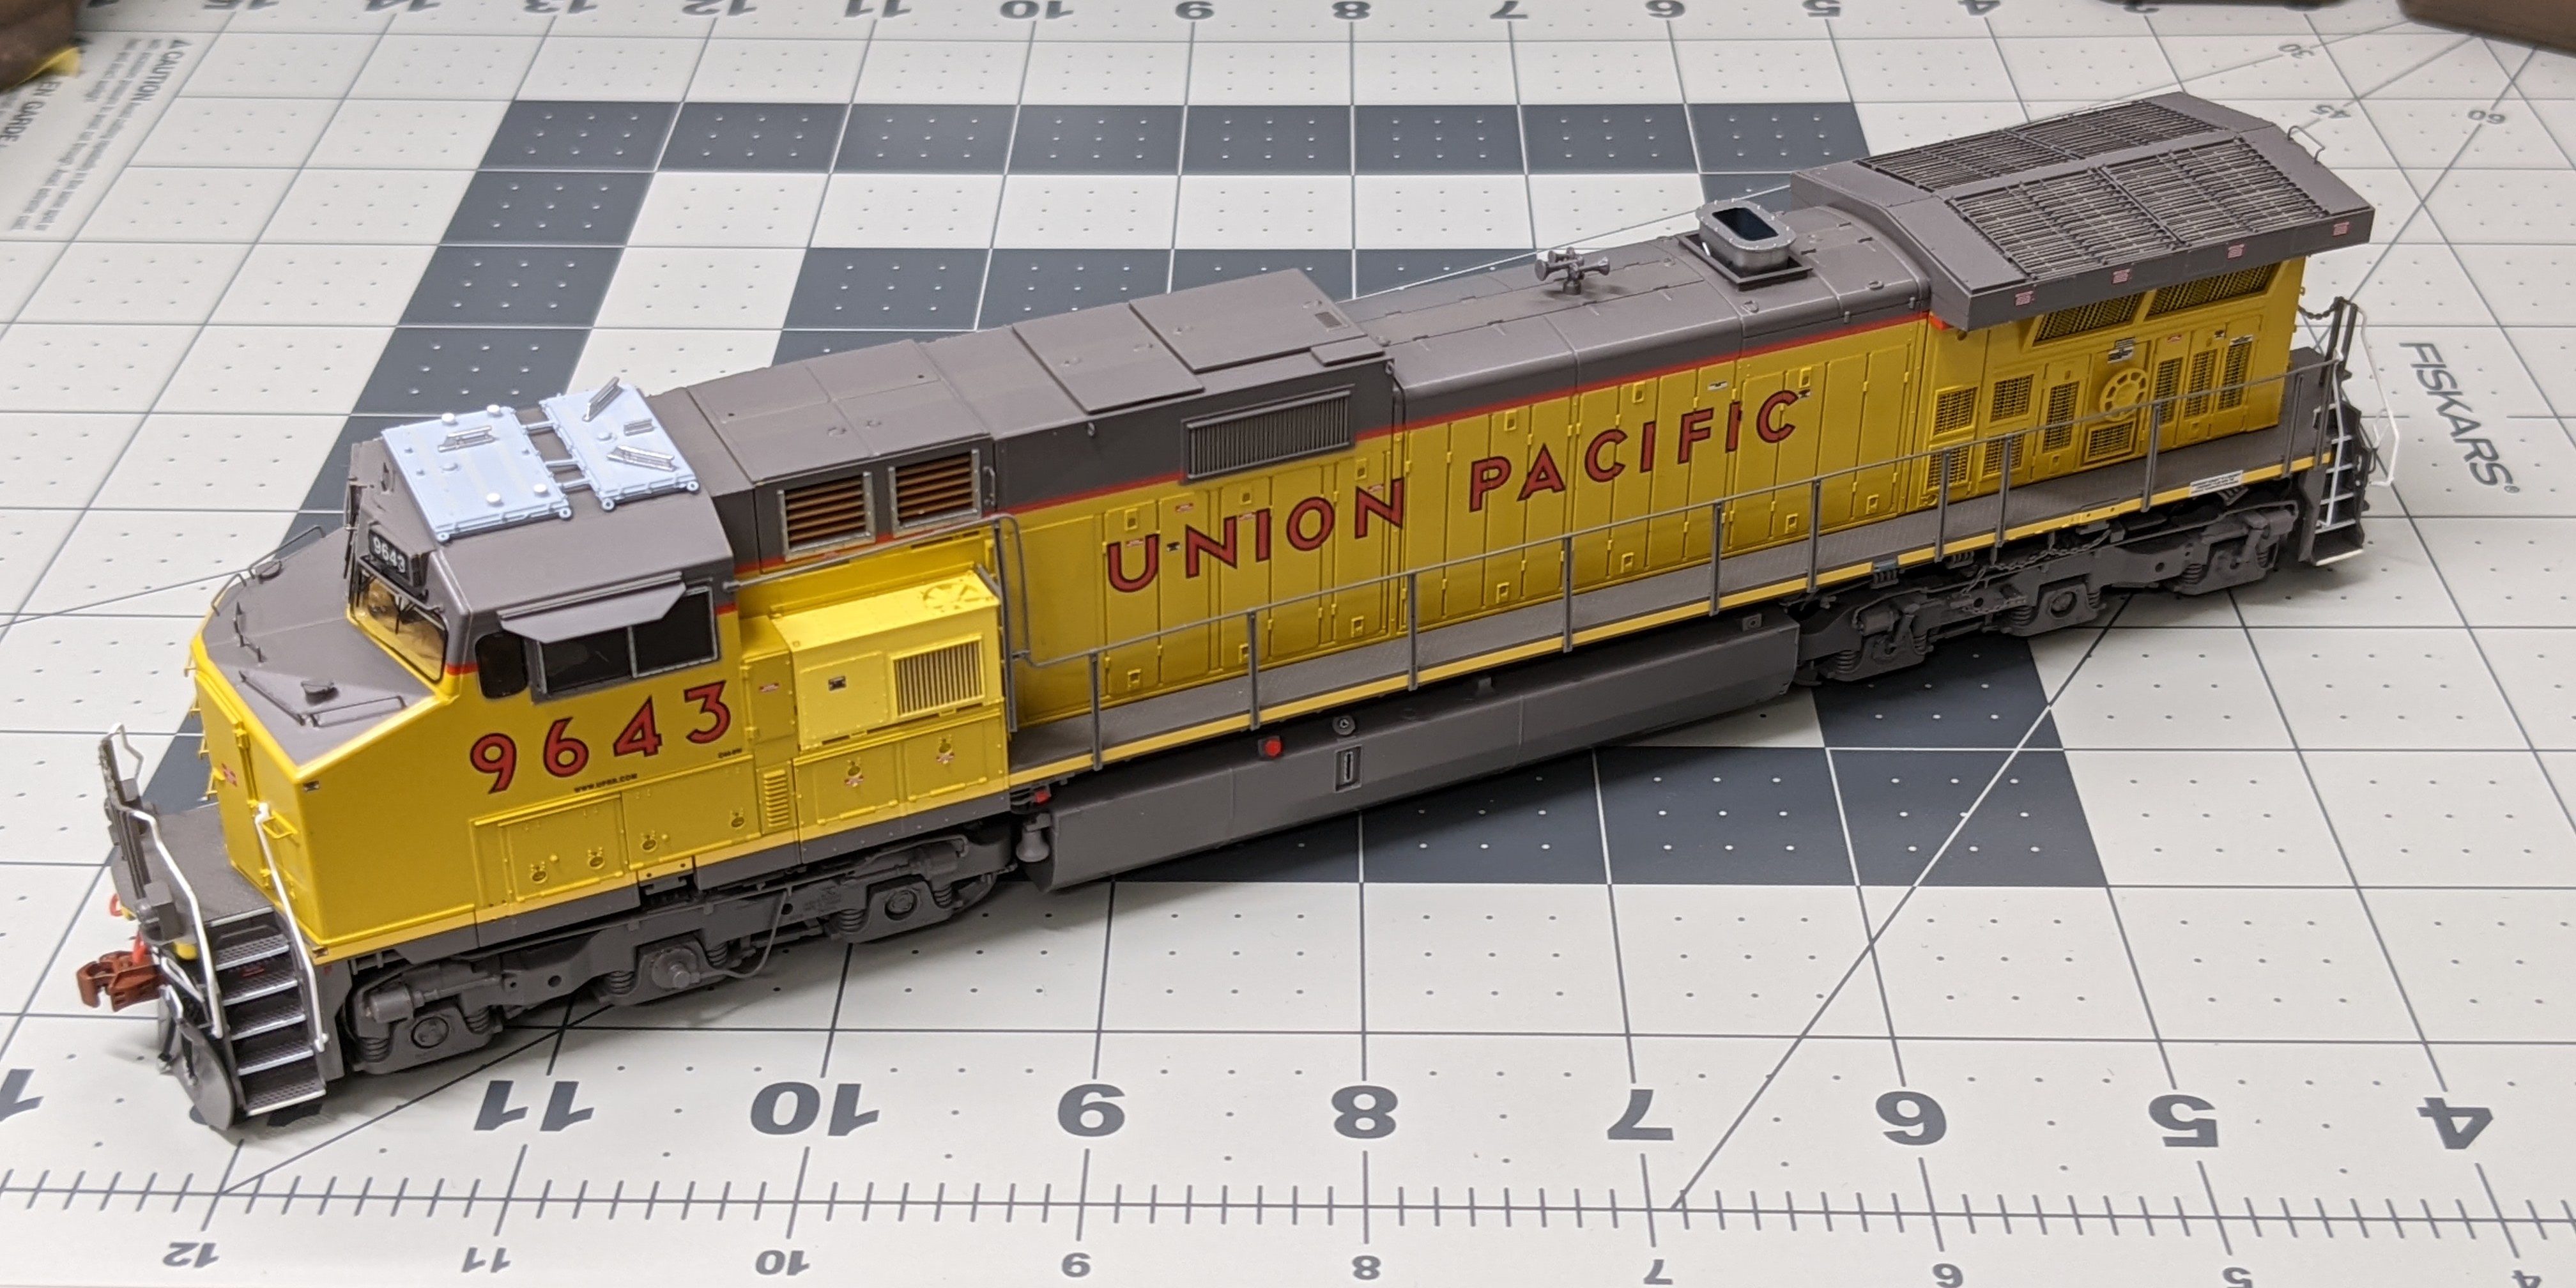
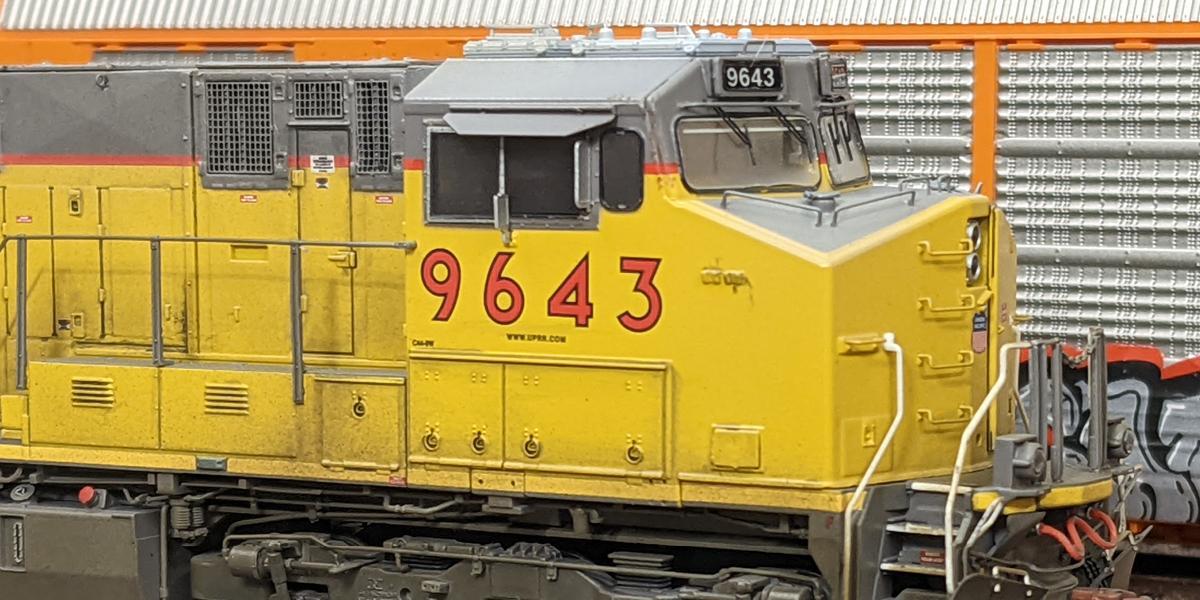
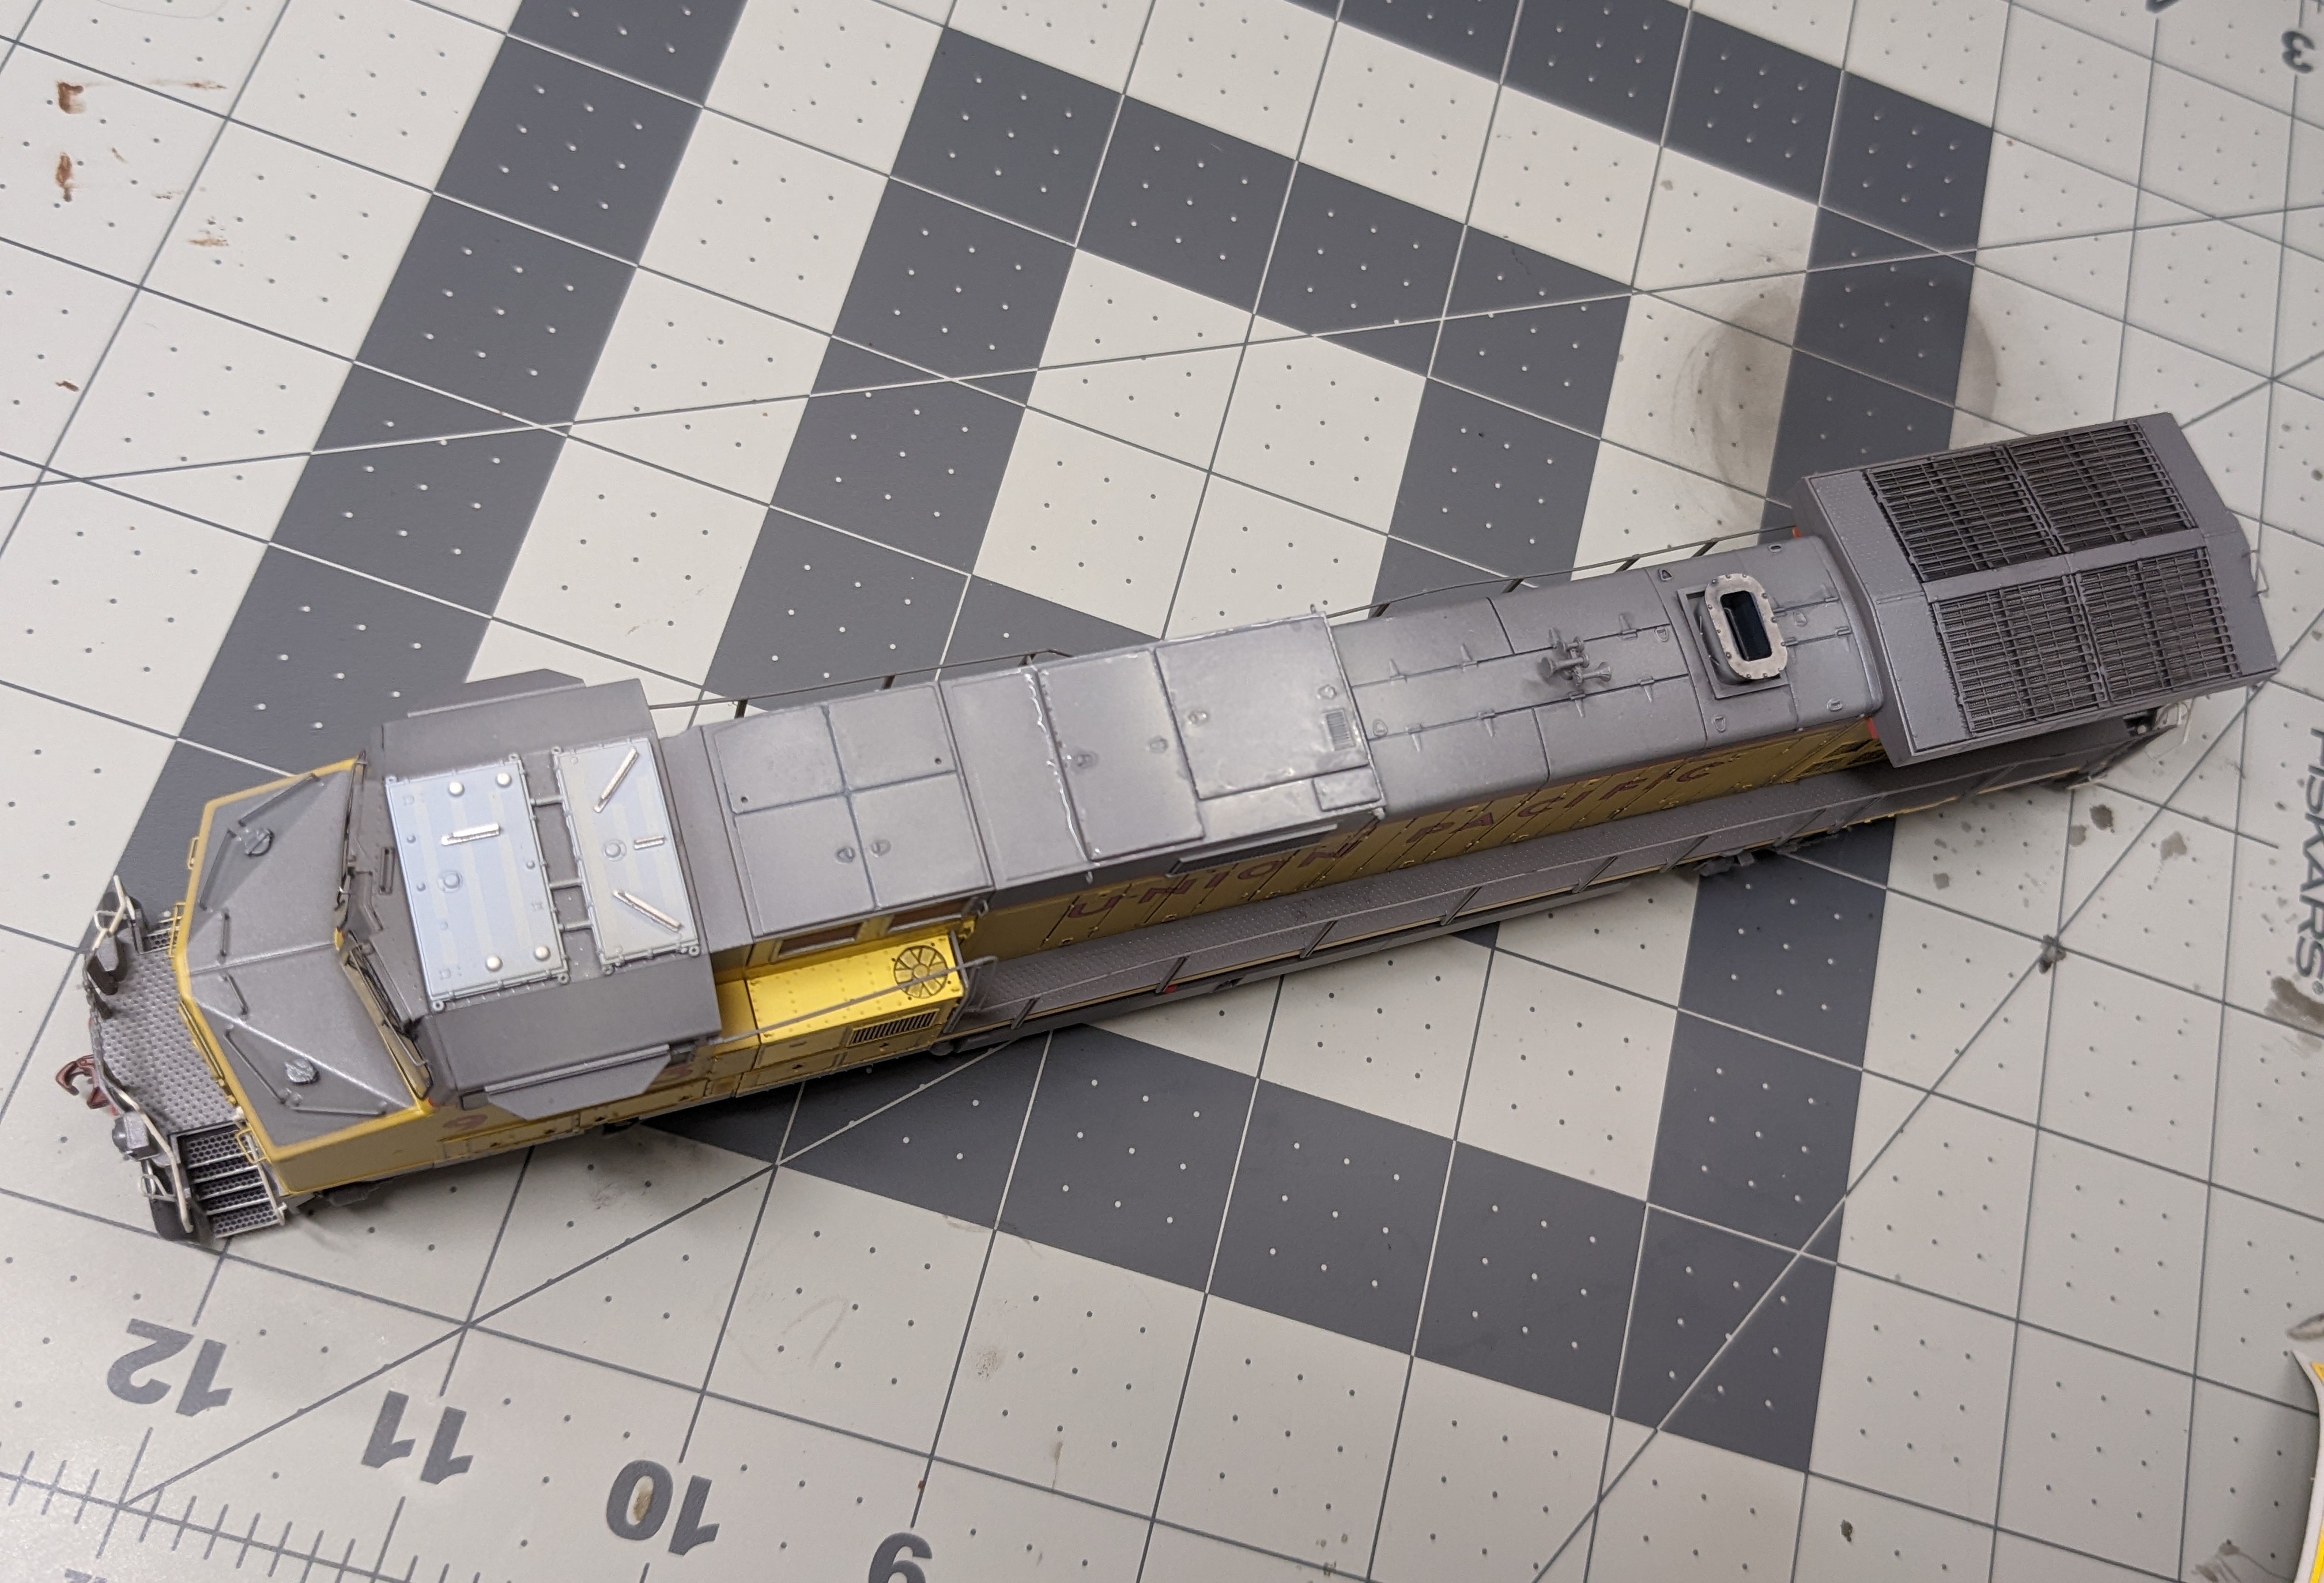
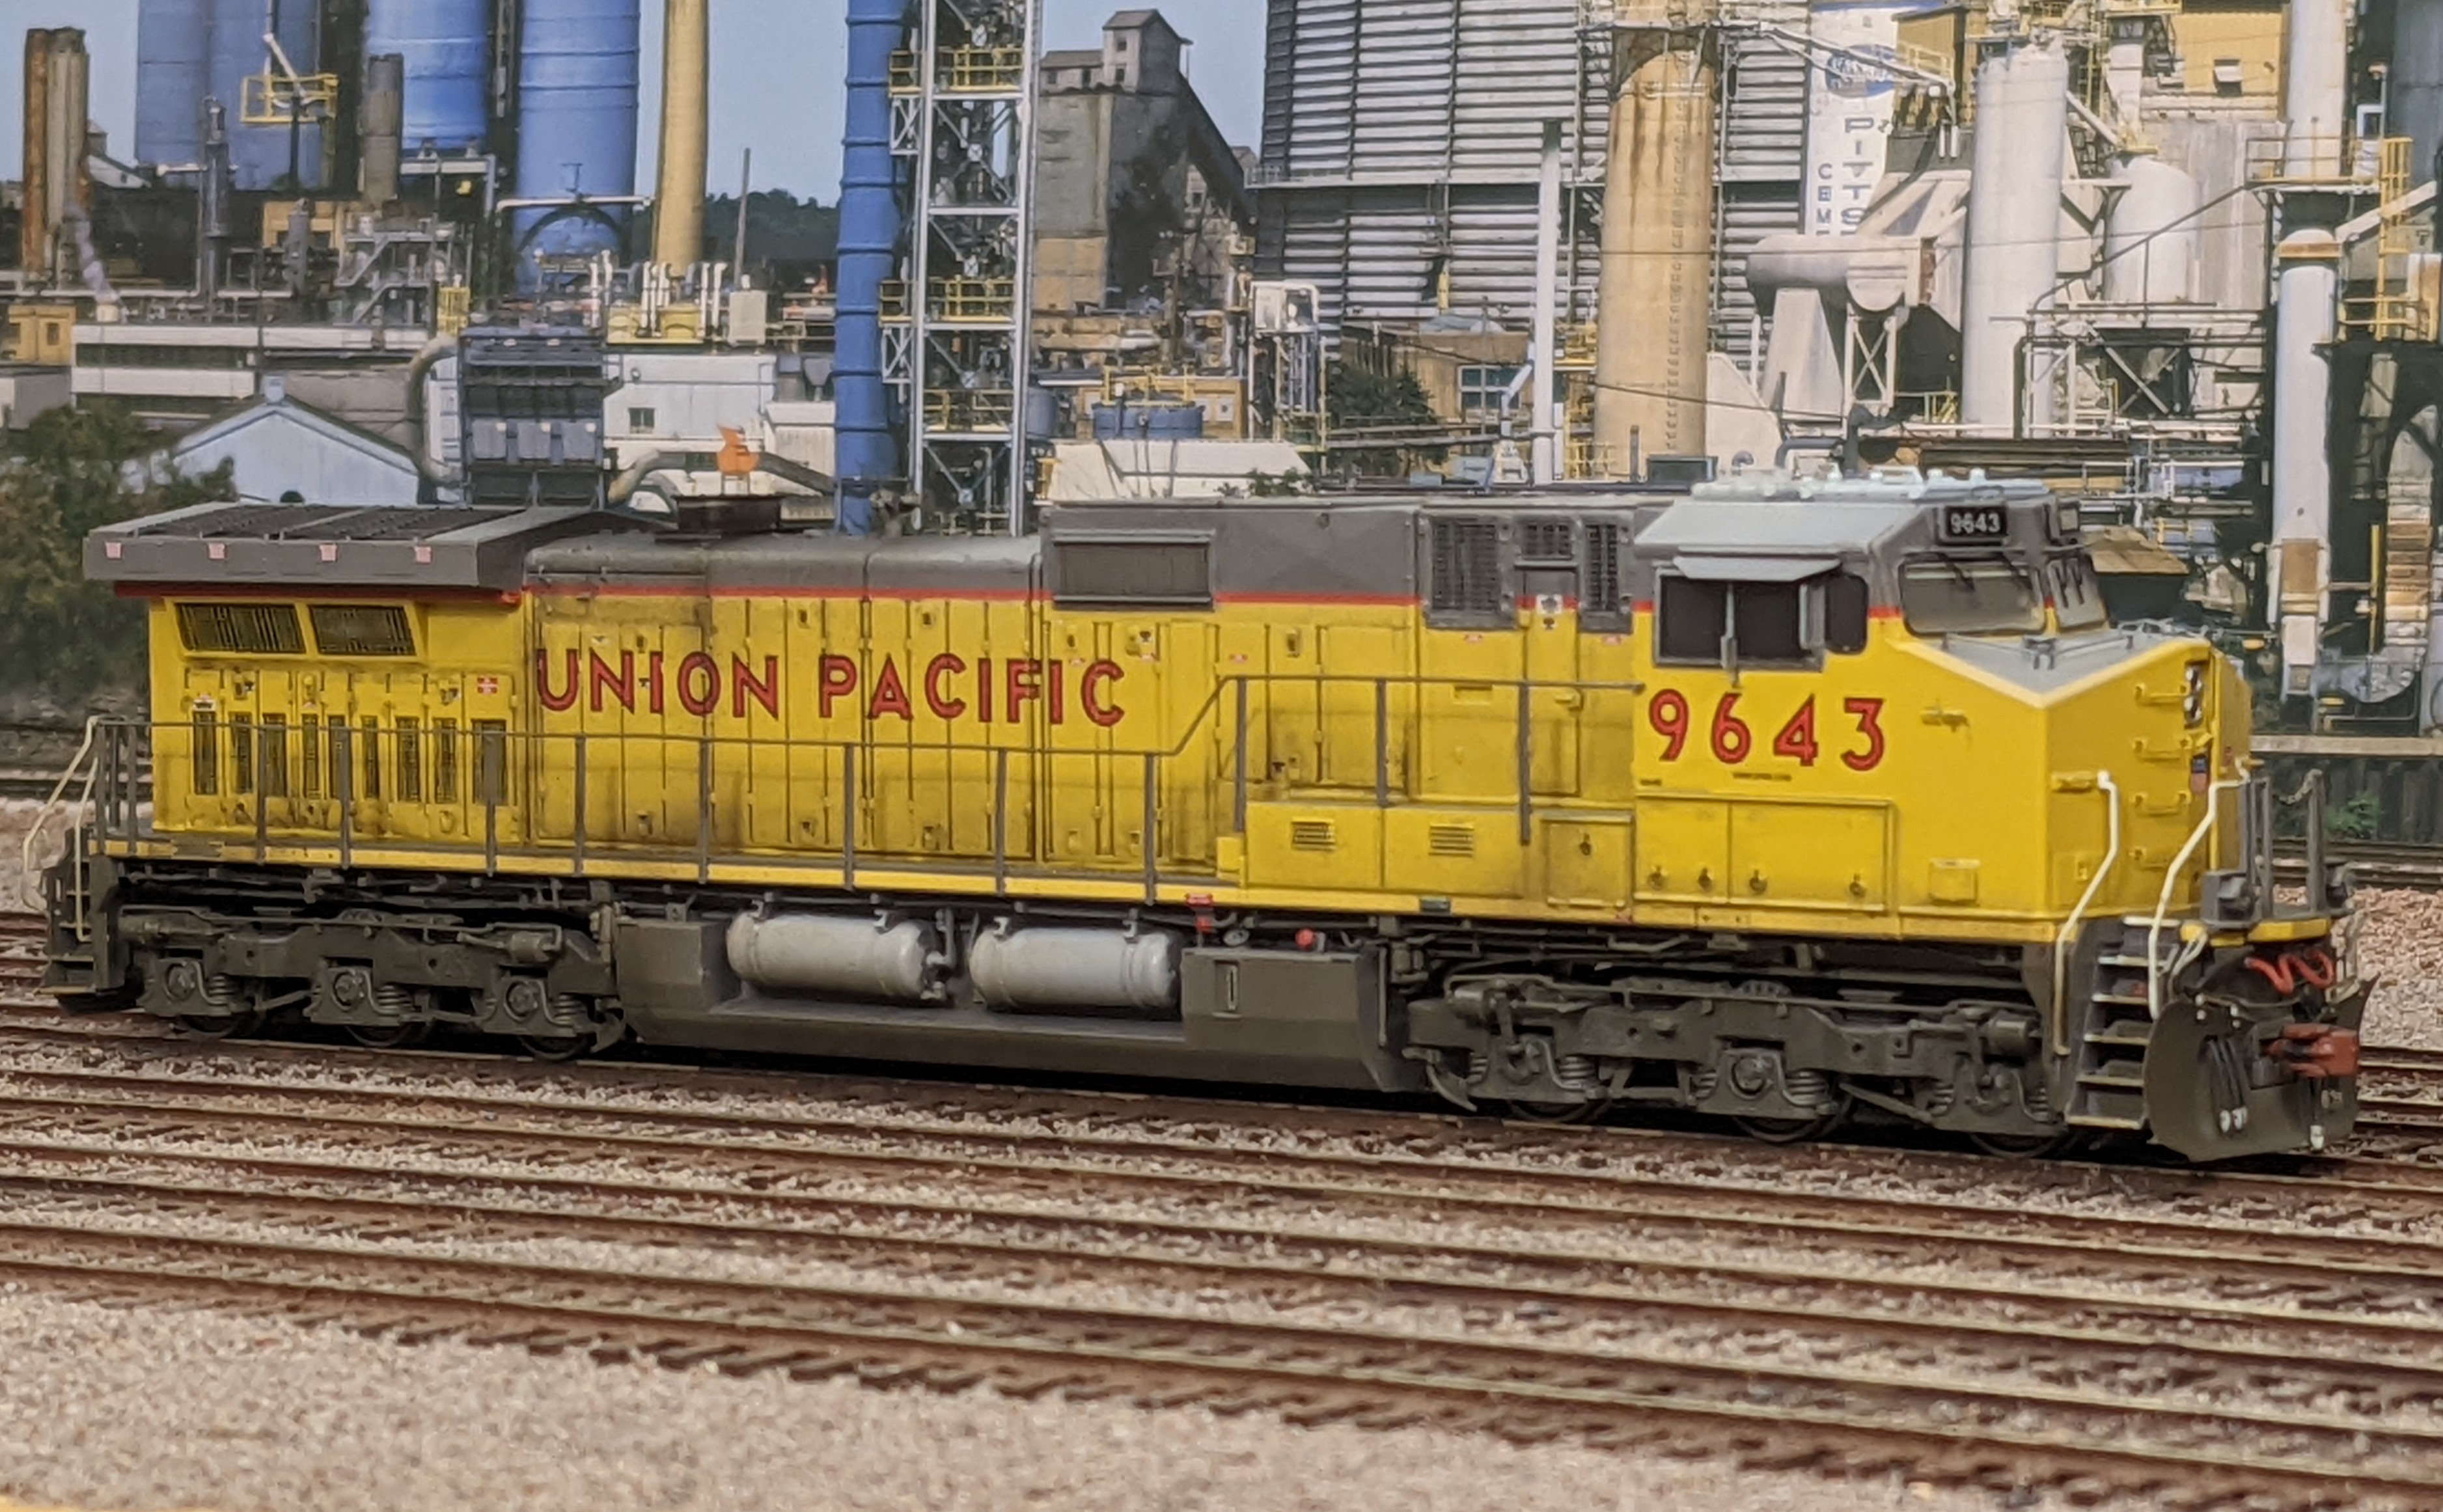
We start with a ScaleTrains GE Dash 9 in Union Pacific livery. This is a highly detailed model that represents a later era version of the locomotive. Note the yellow sill and PTC antenna farm. Multiple reference photos found online start a good point around 2018.

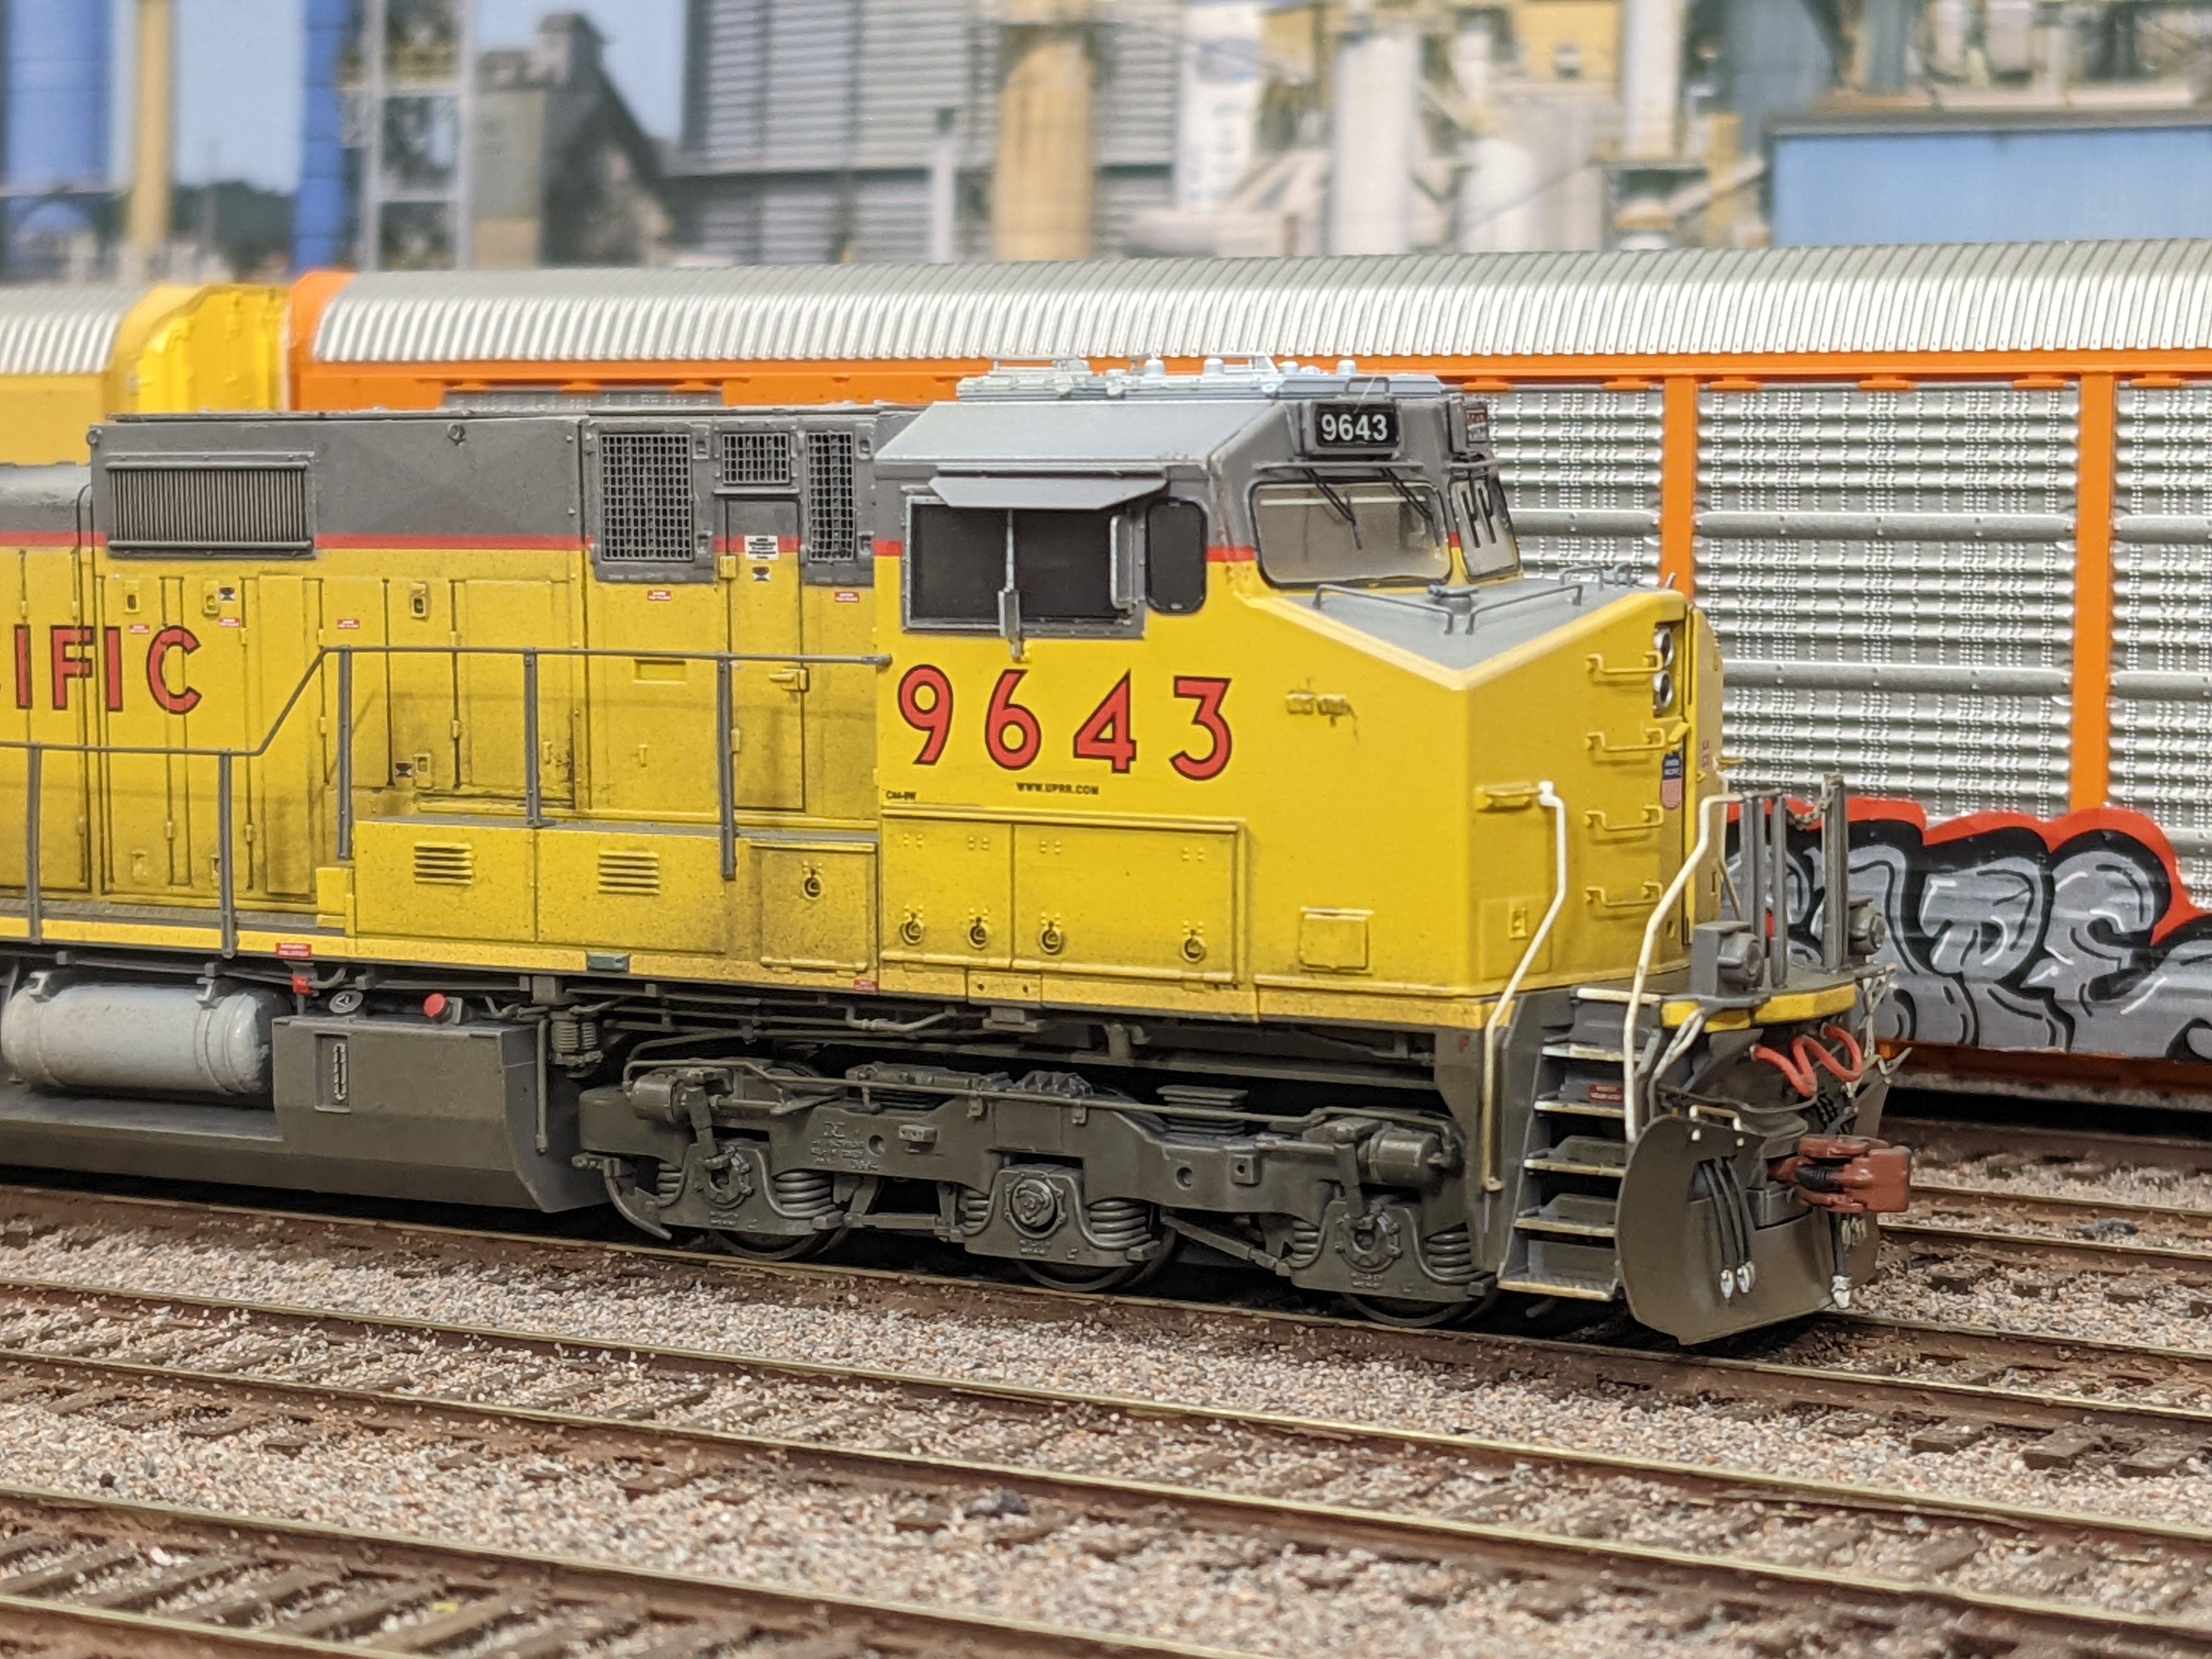
With the fine point brushes, it’s time to apply the Black Tamiya Panel wash to the grills and areas where more grime will collect. The dark brown panel wash is to be applied where grime builds up less but is still visible. In case you go a little bit crazy with the panel washes. Dip the micro swab in some mineral spirits and it will clean off any excess panel wash. Give the washes about 30 minutes to fully set and dry.

Next step is painting the air tanks a lighter shade of gray. This was accomplished by airbrushing a few light layers of the Antique White Badger paint until it looked mostly correct in blending. Even if it’s not perfect at this stage. There are more layers to come.
This is where we are starting to use the airbrush over the wider scope of the locomotive. Even though it’s not shown in these examples, the windows and any visible “glass” are covered with the tape. The tape was just removed for the photos.
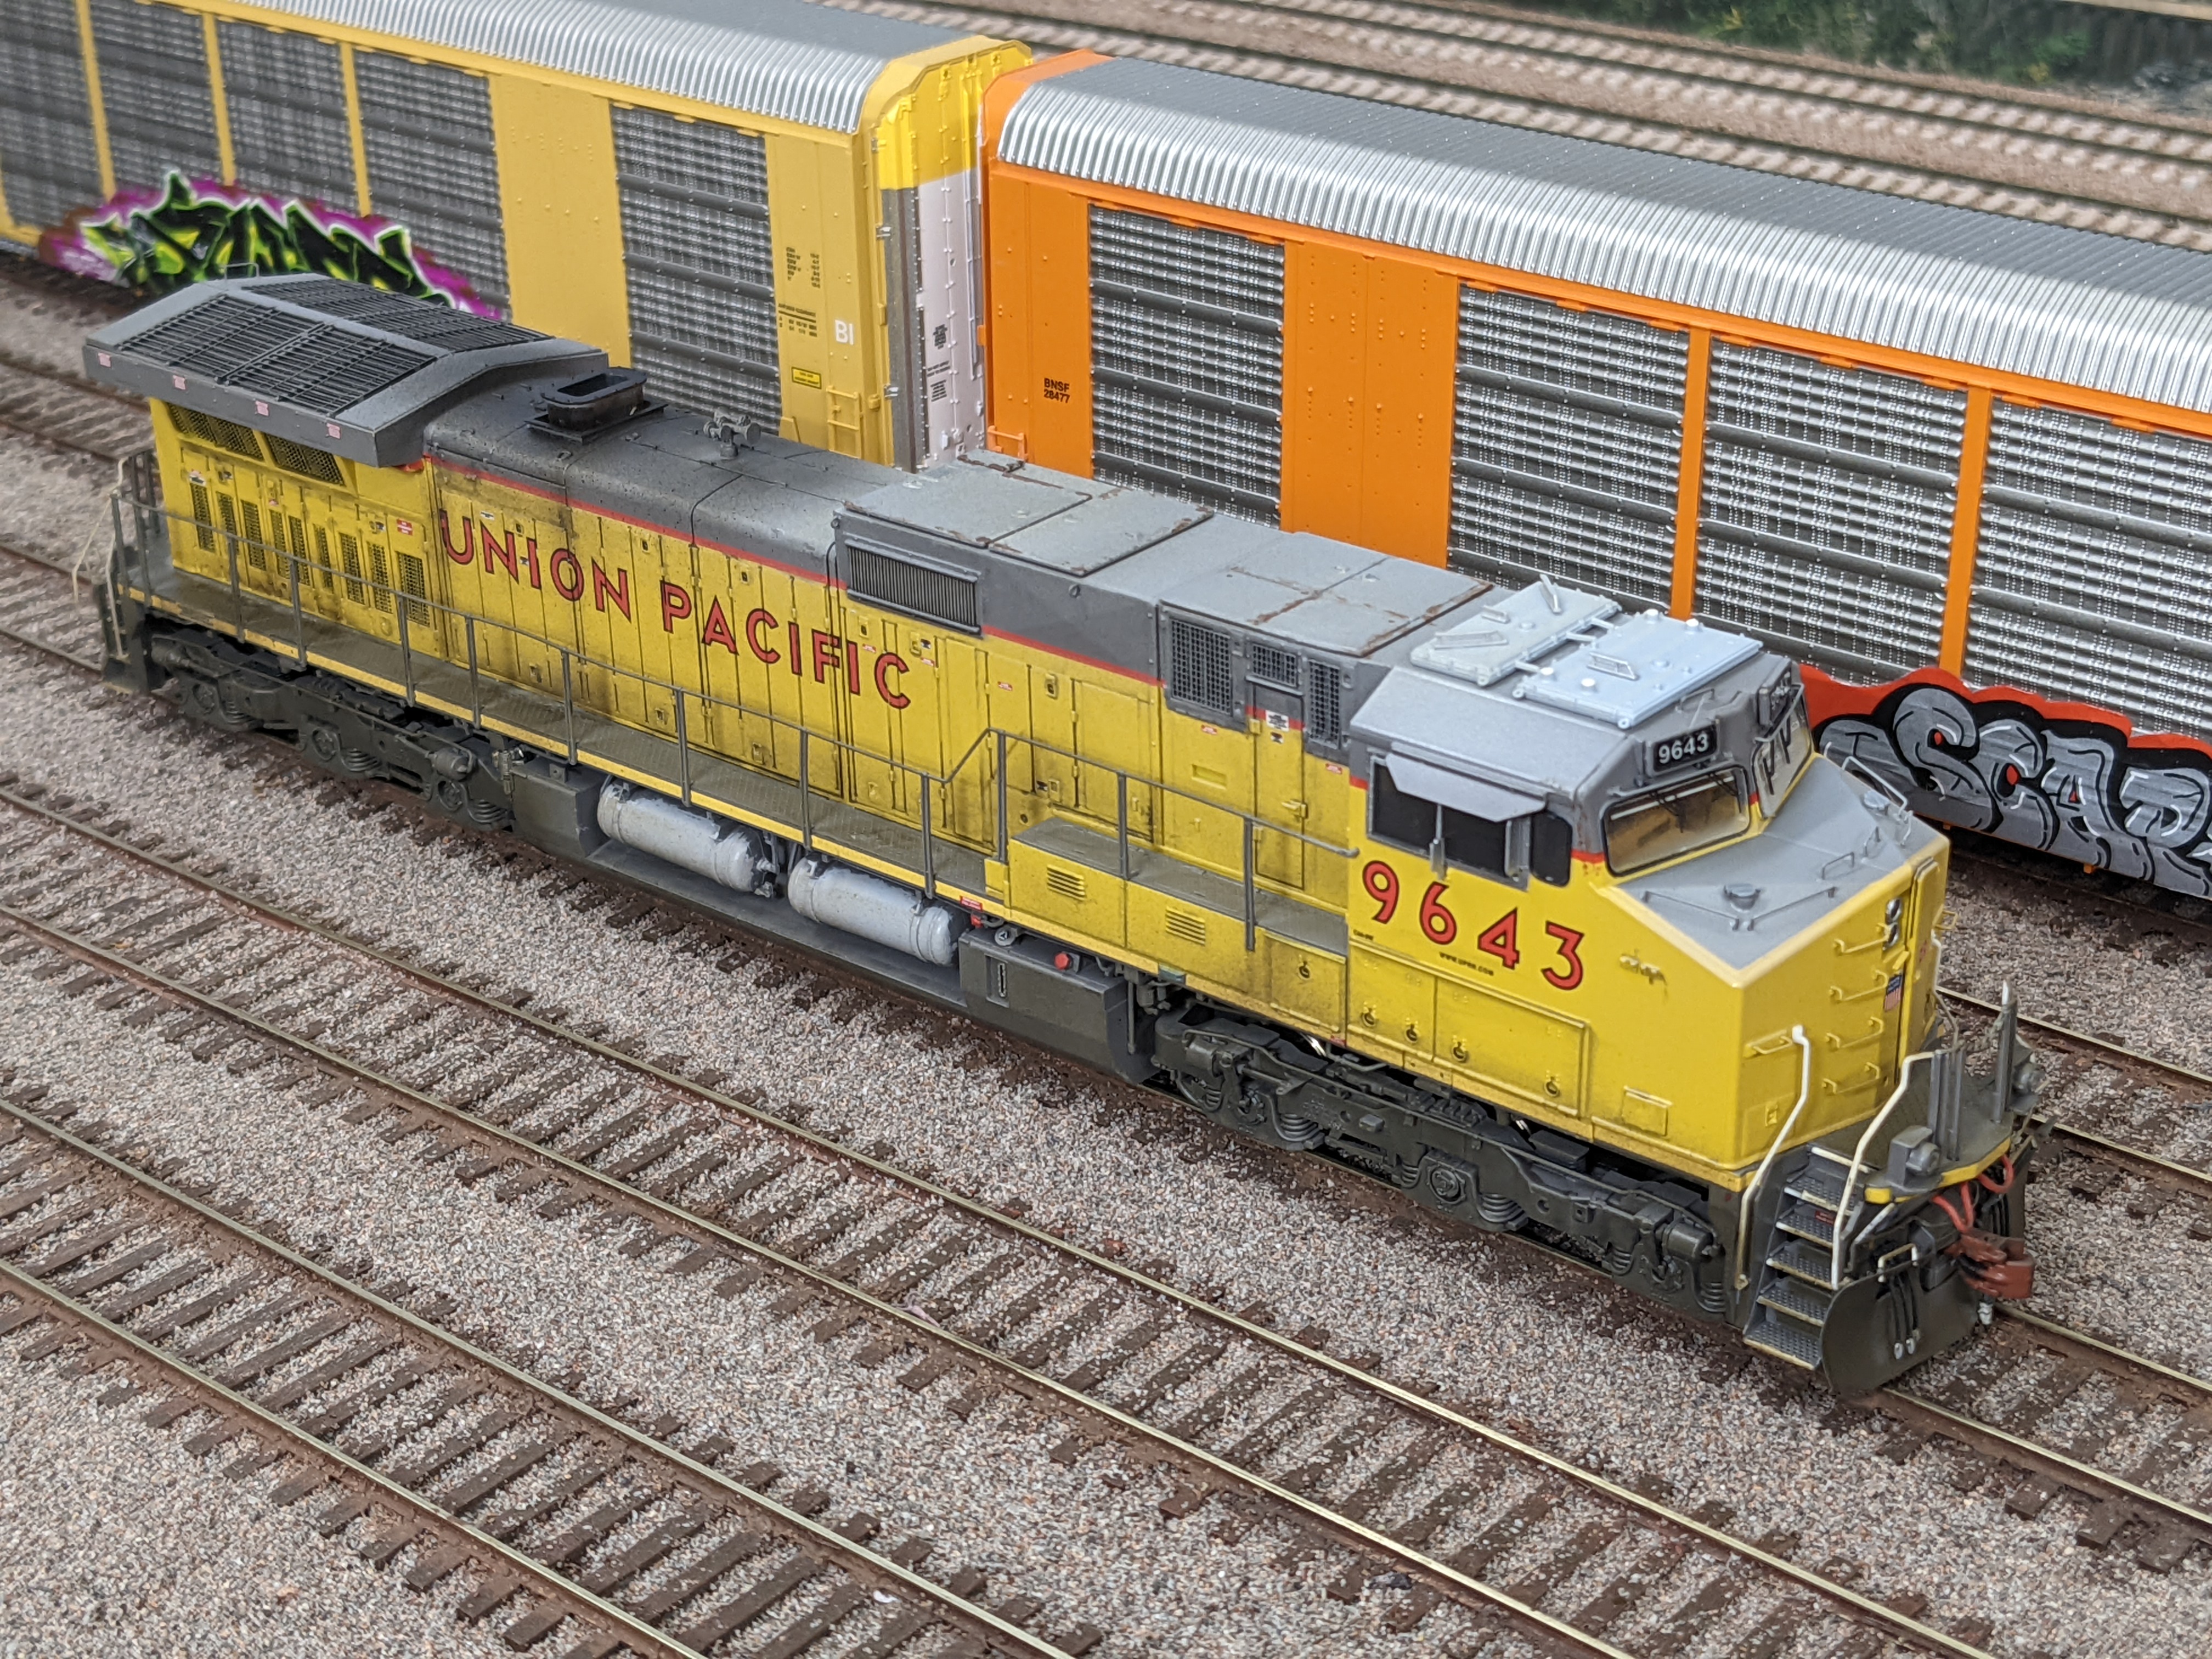
These units generally have some fading patterns on the roof. The fading was also accomplished with several airbrushed layers of the Badger Antique White on the roof. Note that it’s not an even application.
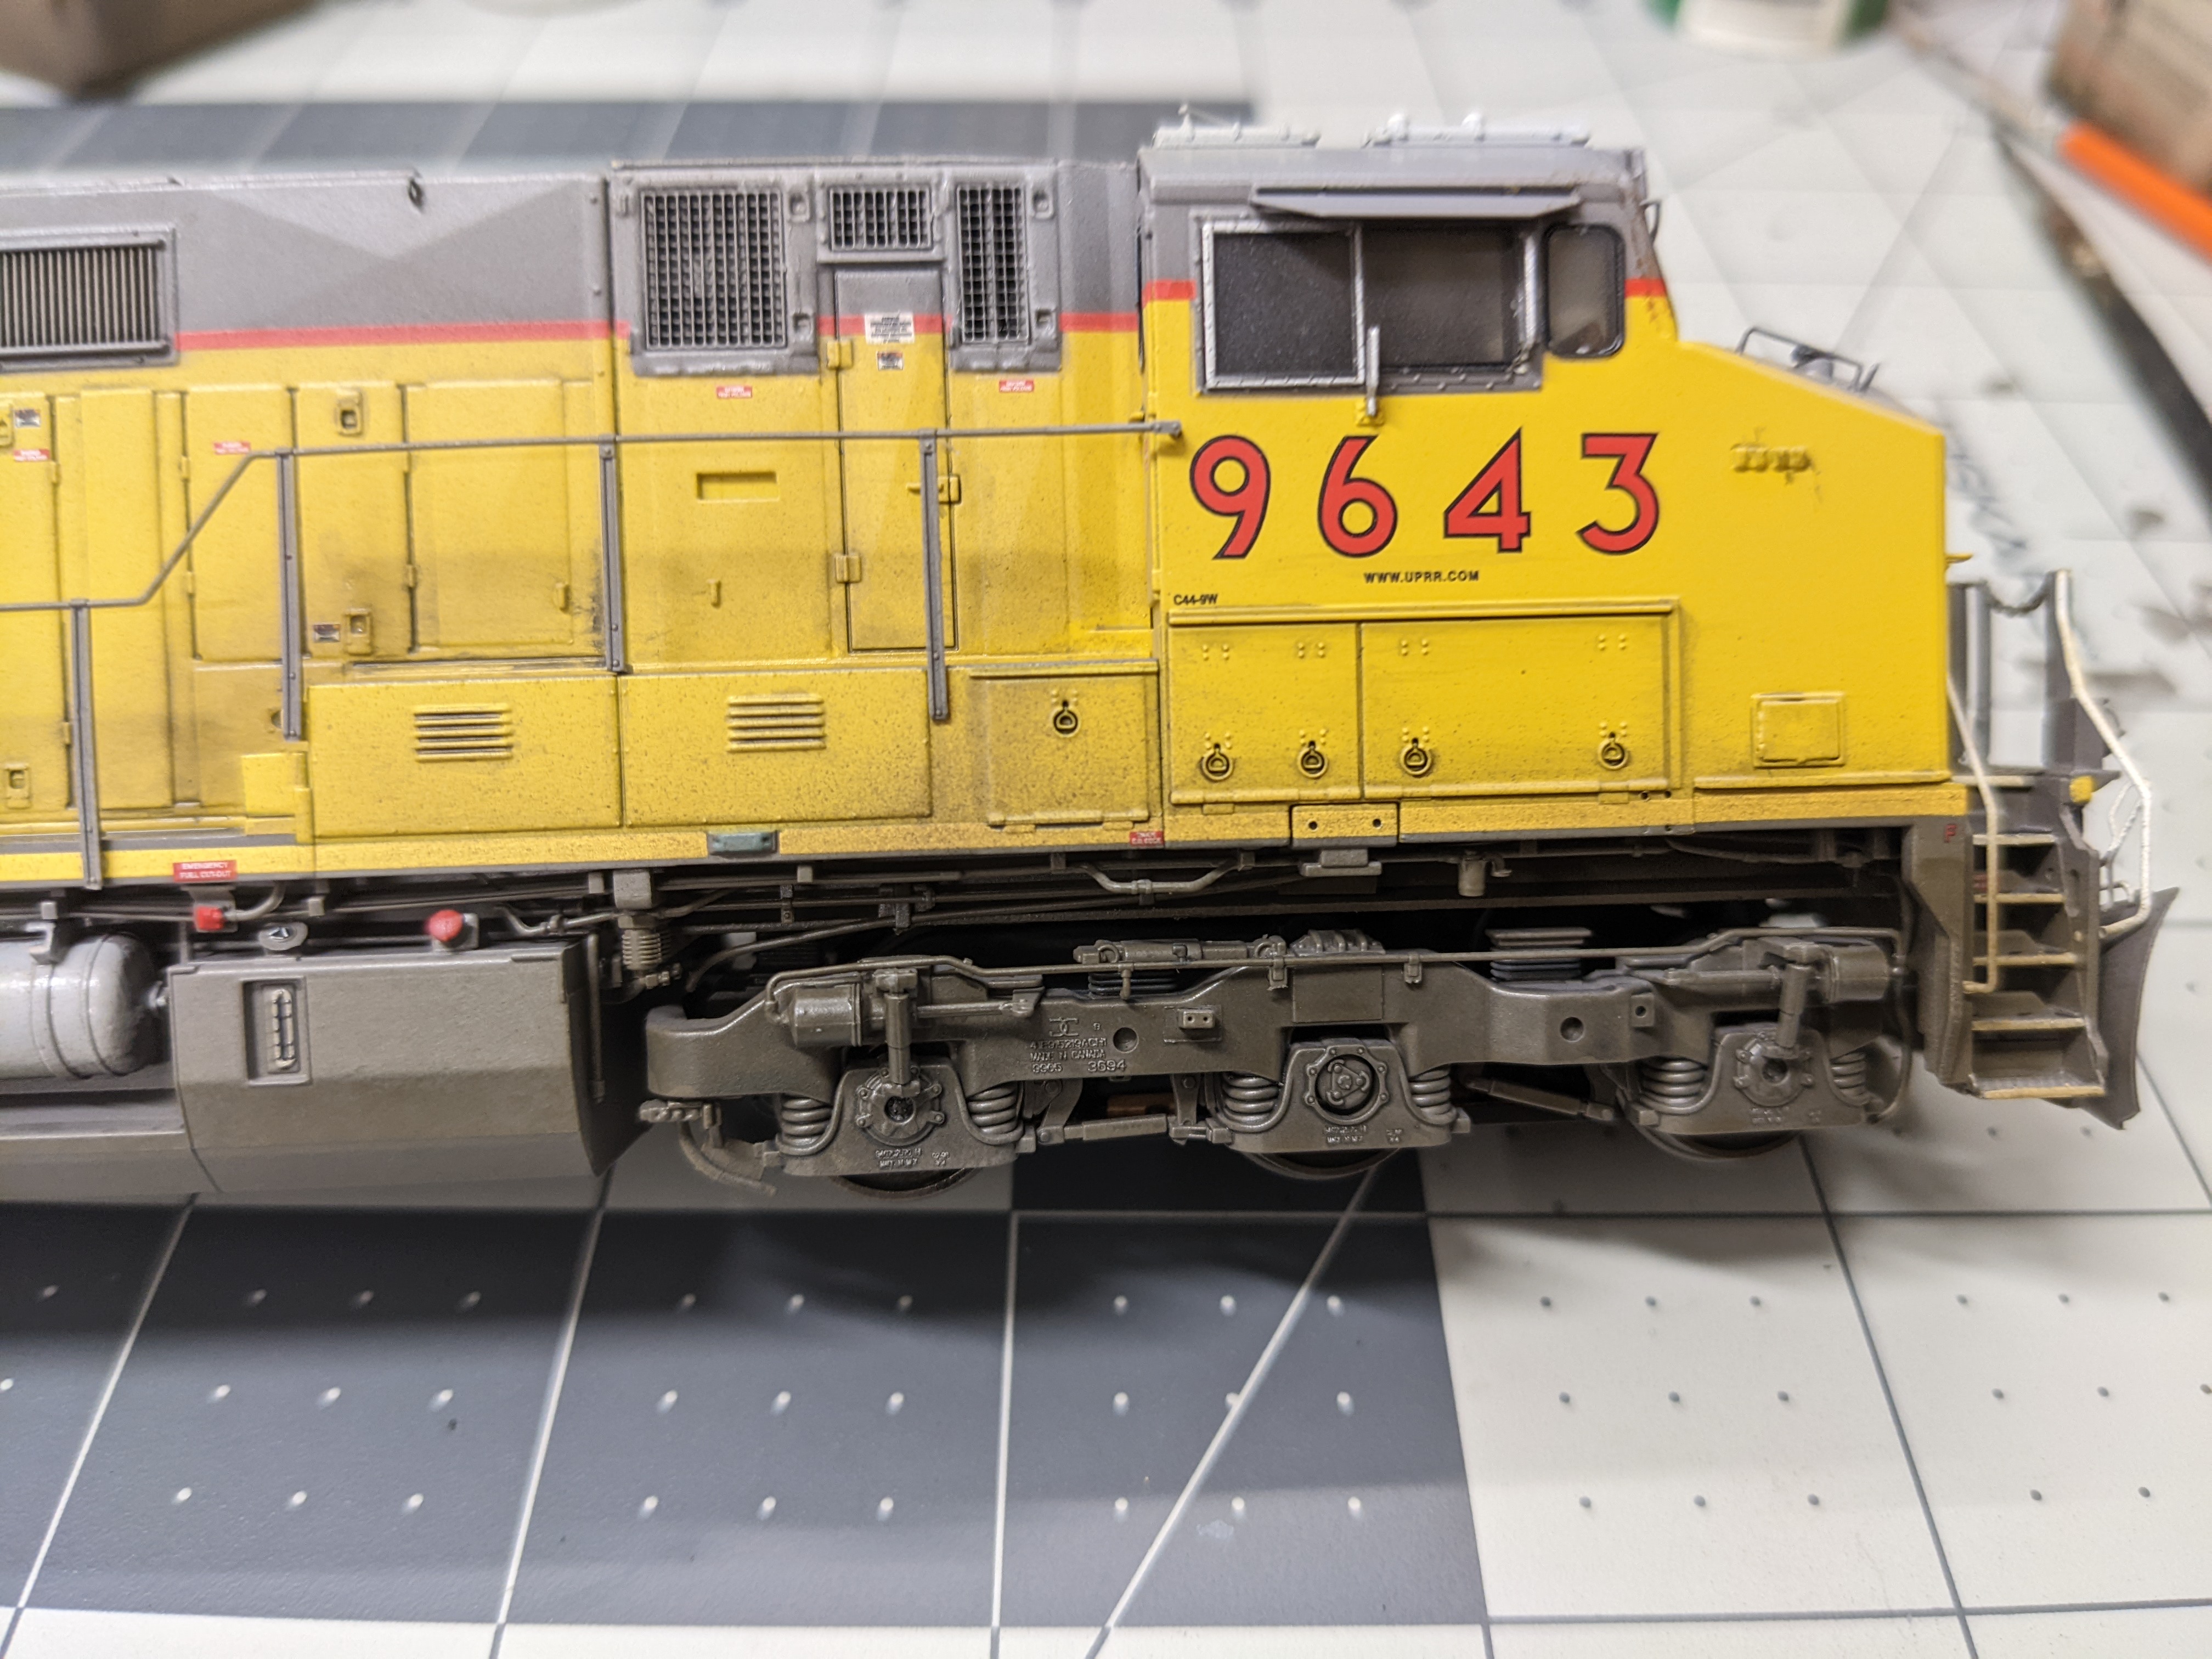
Now, it’s time to add the various road grime layers. This is mostly done with the Badger Rail Brown and some of the Tamiya Red Brown in layers.
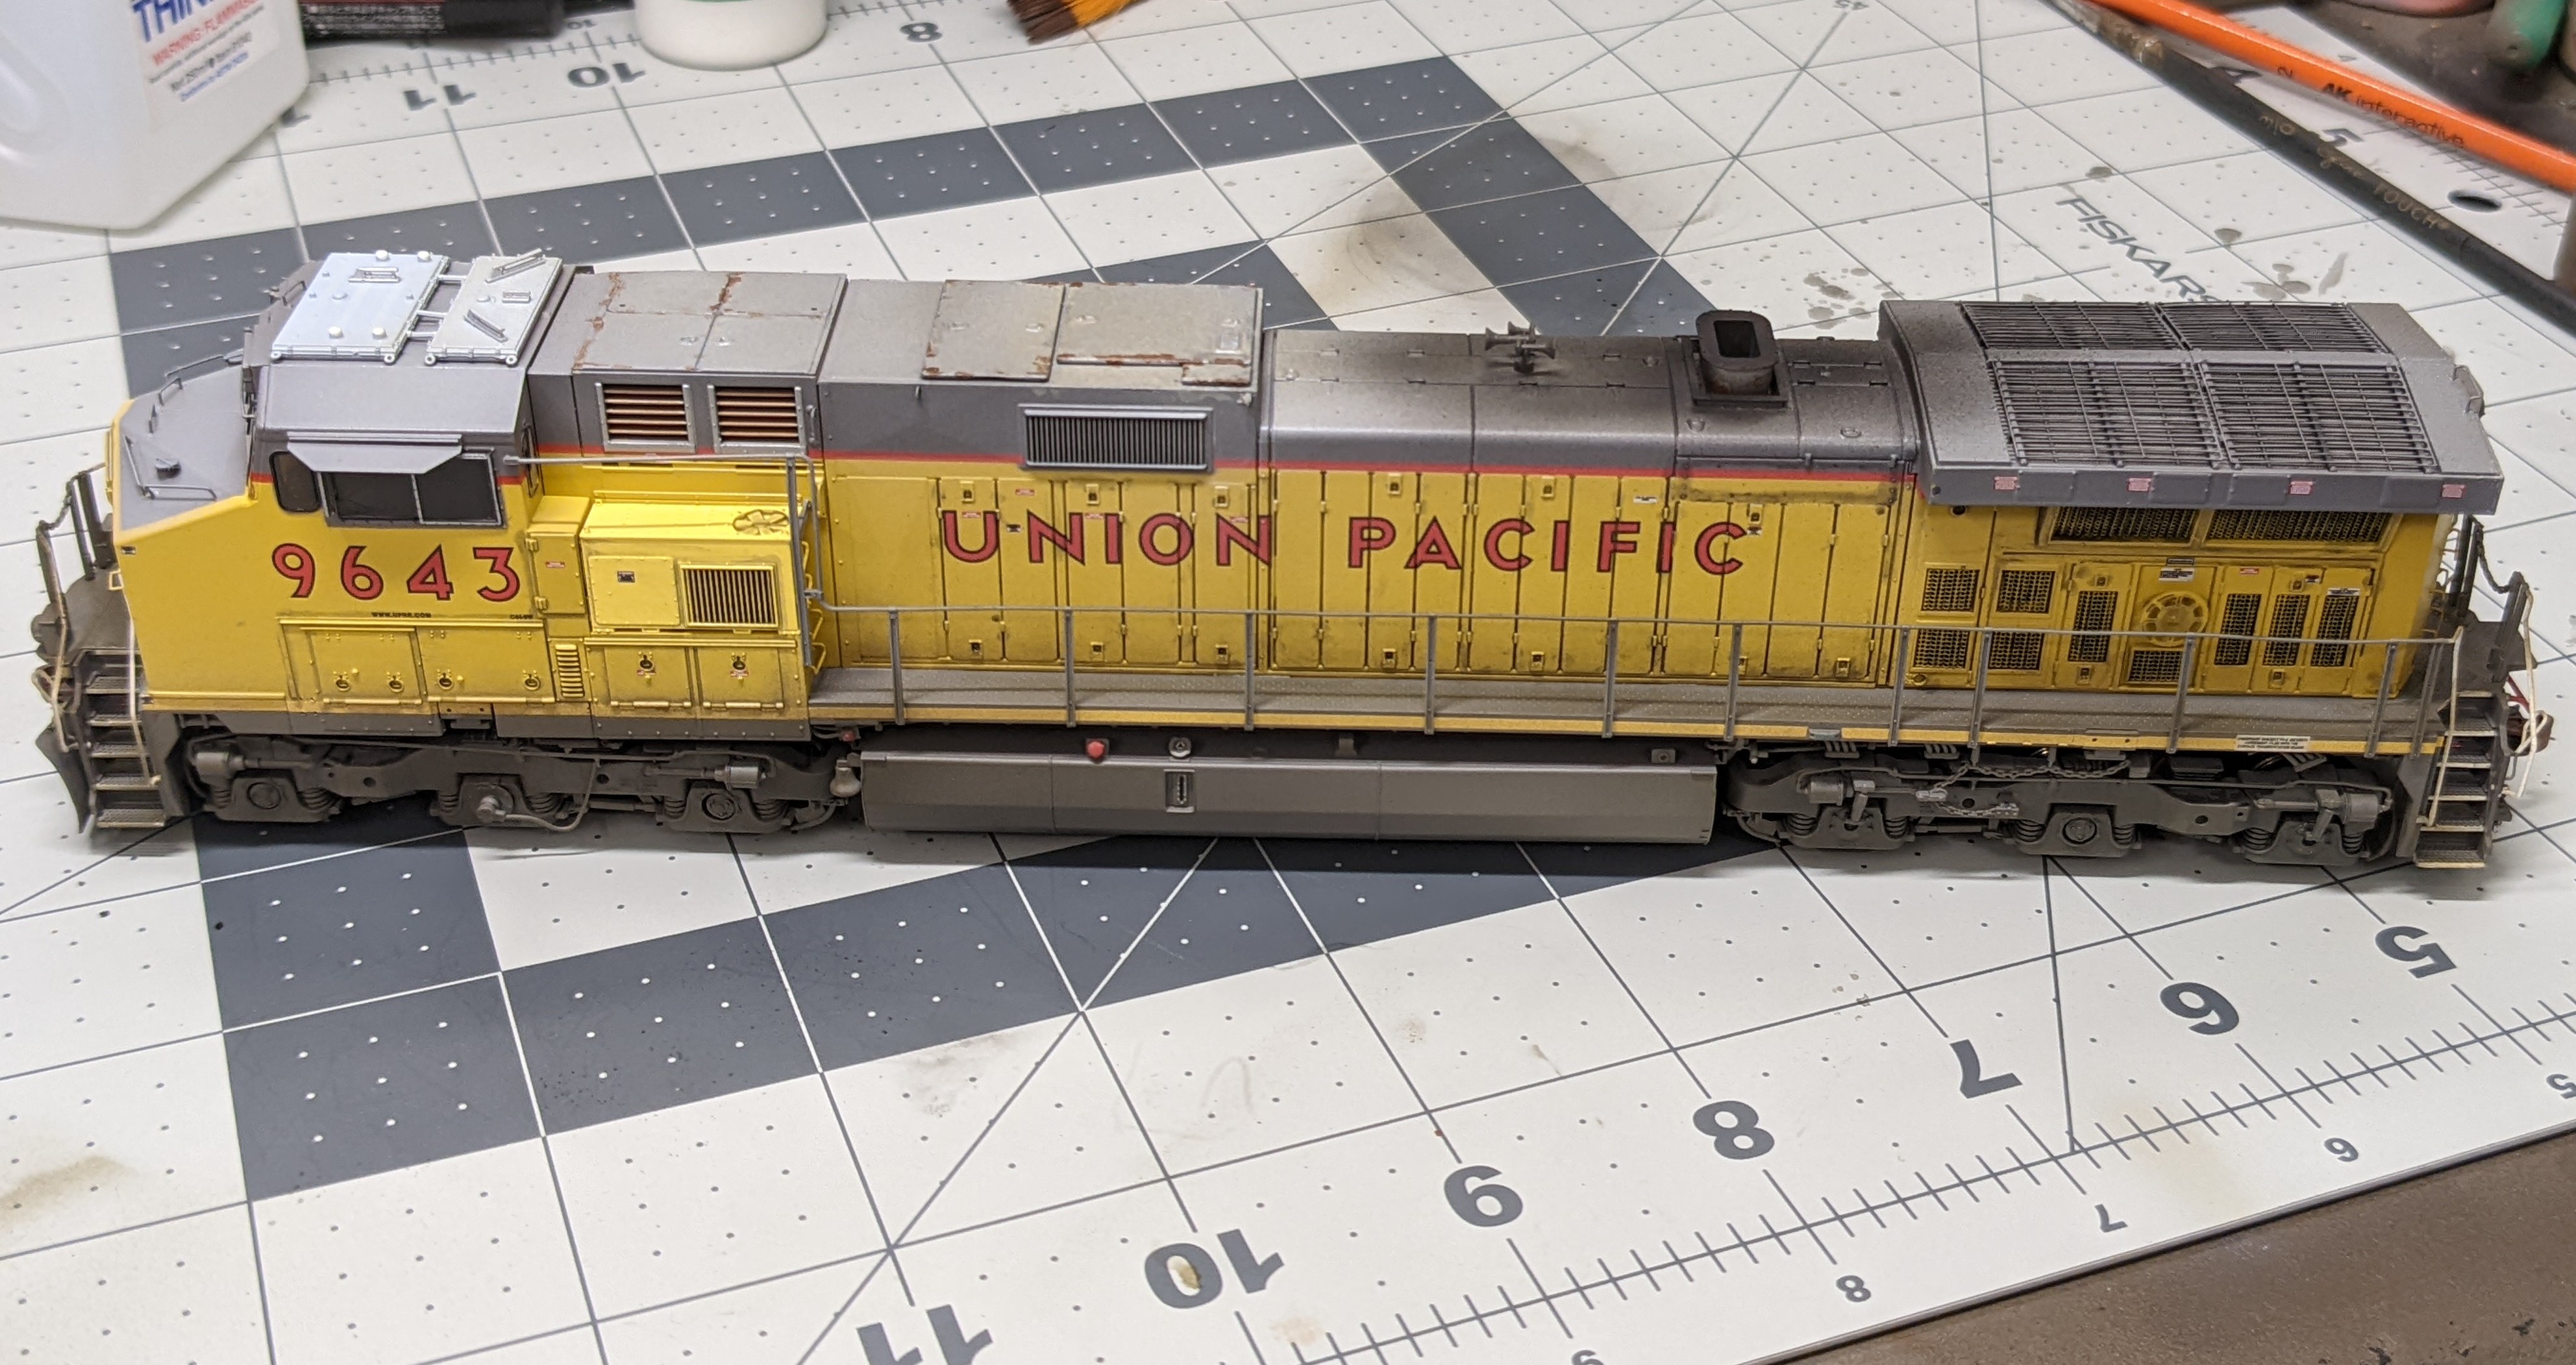
Once the road grime is applied it’s time to add roof detail weathering. Note the few little edge rusting spots. That’s done with the fine brush and Tamiya Red Brown. Once the rust spots are satisfactory. We airbrush the Tamiya Flat Black where exhaust soot builds on the roof.
This is also an excellent time to make sure the wheel sides are painted as well. I use the Tamiya Red Brown to accomplish this. It’s a similar technique where you run the locomotive on a test track and paint the wheel sides. Easy and quick.
Upon finishing the wheels, it’s time to apply the flat clear layer for protection of the weathering work. Let that layer set for about 30 minutes and it should be sealed. At this point, you can remove the masking tape over all of the “glass”.
The weathering job is now finished.
Hopefully, this how-to guide helps you with trying to weather some of your own trains. Even though I do this for a living, it’s always fun seeing new people’s trains and what they can do creatively. I'd like to thank ScaleTrains for allowing me to do another article.


