


Loading...
256 view(s)
An Article by Jon Hill
I’d like to thank ScaleTrains.com for another opportunity to do a how-to weathering article. What I hope to accomplish is to show some different techniques that some modelers may not have used before.
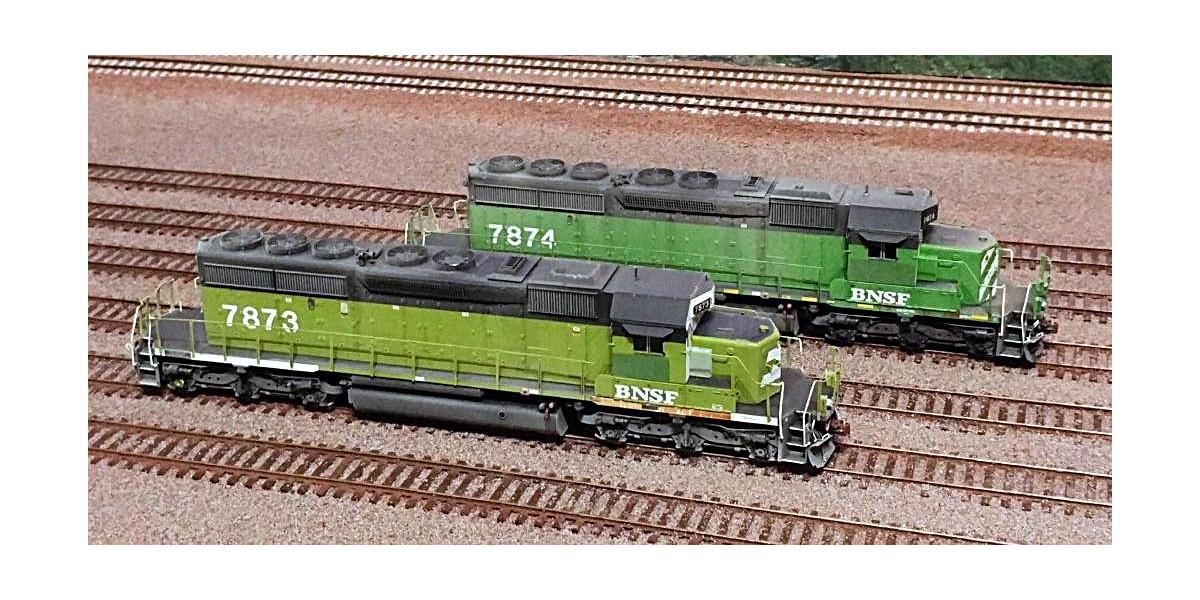
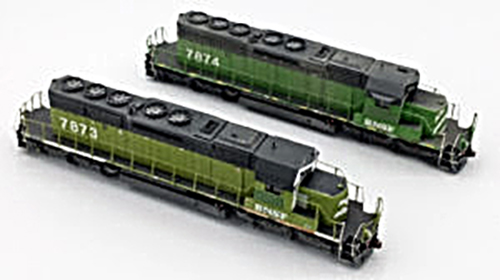
We start off with a pair of BNSF patched SD40-2’s in the Rivet Counter brand. BNSF 7873 represents the "White Face" BN unit and BNSF 7874 with the striped nose in the standard BN scheme. The White Face BN locomotive was repainted into BNSF Swoosh in the mid-2000s, while the standard BN loco has been renumbered into BNSF 1992.
For this project, these units are being weathered approximately as they appeared in the mid-2000s. The look we are generally going for is a moderate fade, some light road grime, and a few unique weathered details on both units.
To accomplish this, I used an airbrush, some acrylics, and washes by paintbrush.
Paint Supplies:
Tamiya Acrylic Thinner, Tamiya XF 20 Medium Grey, Tamiya XF 55 Deck Tan, Model Master Railroad Tie Brown, Model Master Rust, Vallejo Wash Burnt Umber, Vallejo Wash Rust and Dark Rust, Tamiya Panel Wash Black, Model Master Flat Clear Acrylic, Testors Acrylic Thinner.

First off, the models are inspected and tested for any needed repairs or cleaning off fingerprints. There were not any issues with these locomotives. The next step was to mask off any windows, lights, or anything else that needed to be clean.
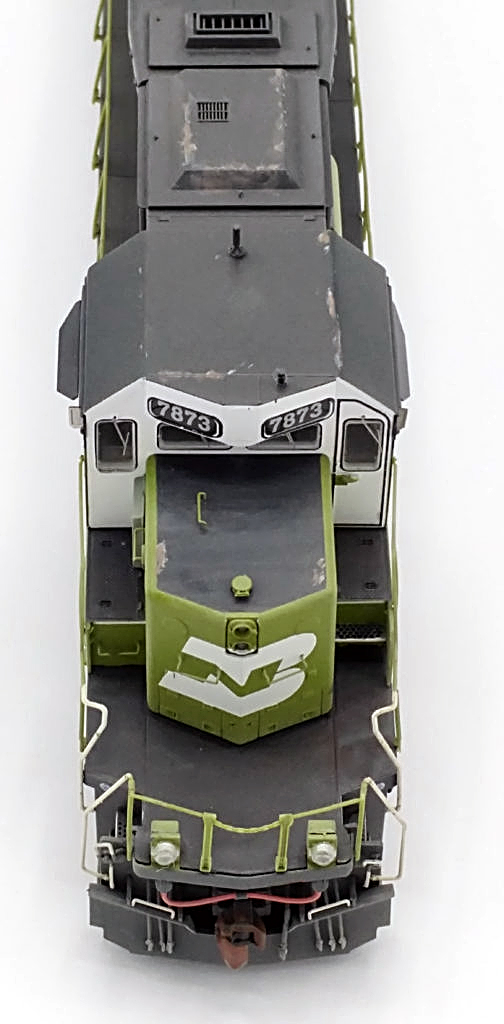
Now that we are good to start airbrushing, I start with a light layer of Flat Acrylic Clear with a few drops of the XF-20 Medium Grey and XF-55 Deck Tan mix. That will achieve a delicate starter fade effect. As the first layer has dried, I notice that both of the real locomotives have some various paint chipping and some clear coat failing on the top of the cab and long hoods. To achieve this effect, I use the XF-20 Medium Gray with a micro paintbrush and dab in small spots where the paint has started to peel off. To keep those spots small and mostly soft in appearance, I use a fine cotton swab to ease off the edges. This also helps spread the faded areas of gray around, which will help simulate clear coat failing.
When the chipping layer is dried, it will be time to apply some minor rust spots with a fine brush and the Vallejo Rust wash over the chipped areas along with several other areas of the locomotives that require rusting. Both units have various rusting effects on the sill under the cab which go down to the truck side frames. The 7874 has more rust effects on the nose of the locomotive. Including the plated class light covers.
After the rust layers dry, it’s time to apply another clear coat layer to protect what has currently been applied to the units. Following this layer, it’s time to start adding the grime wash. I use the Vallejo Burnt Umber Wash to start with a light effect. If you look at a locomotive, you can see where higher traffic areas tend to get dirty and wear more. So the steps and walkways need at least a layer of the wash to show use. A few spots along the front and rear walkways receive extra layers to show more grime. Next grime wash to the panels along the long hood where grime builds up over time. These wash layers are applied in a downward motion, as it keeps the look of the real thing. The last part of the grime layer is the truck side frames and the underframe of the locomotive. ScaleTrains.com has really packed a lot of fine detail and the burnt umber wash really helps bring these details out even further.
Following the grime layer, I add another flat clear coat layer to protect the washes. As that layer has dried, I prepare an airbrushed layer of the Model Master Railroad Tie Brown in a few spots along the trucks, ends of the fuel tanks, and front and rear pilots of the engines. This layer is very light and is not intended to be overly noticeable. As these engines appear more faded than grimed up.
After that layer has dried, I then applied a layer of the clear coat mixed with the drops of fading colors. This will help further protect the applied layers and add more texture to the fade of the units. Nearing the end of the project, the grills need to have the Black Panel Wash applied in several layers for even coverage. I also use the Black Panel Wash to simulate the exhaust grime on the roof. In order to keep that soft, I wipe the edges with a cotton swab. Along with these spots, it’s time to add the burnt umber wash to the handrails to grime them slightly and show a used appearance.
Following the last wash layers, it’s time to inspect the locomotive for any final imperfections and corrections that need to be made. I add the rust color mixed in with railroad tie brown and color the couplers, then hit it with a clear coat to protect the current weathering. Now it’s time to get the wheels weathered. I use the same rust and tie brown mixture with a fine brush and apply as the wheels are slowly moving. This is a Josh Clark (NSModeler24) trick that works really well and is quicker than disassembly.
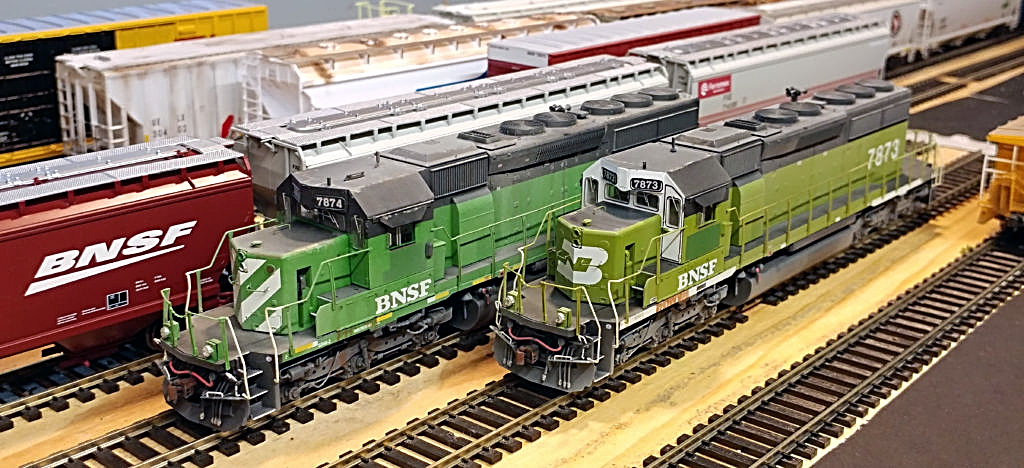
With that, the masking is removed and the pair is tested and finished and ready to go to my customer.
I hope this has shown a few things you can do to weather your own models. Remember, it’s all a learning process and you can make spectacular looking trains too.


