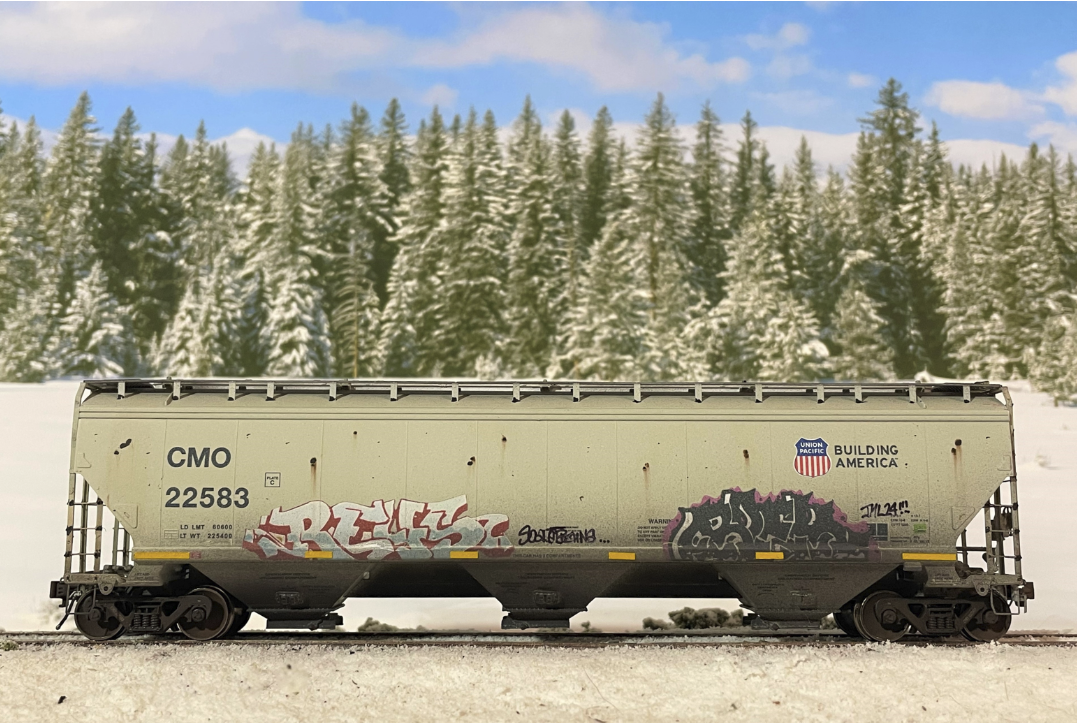
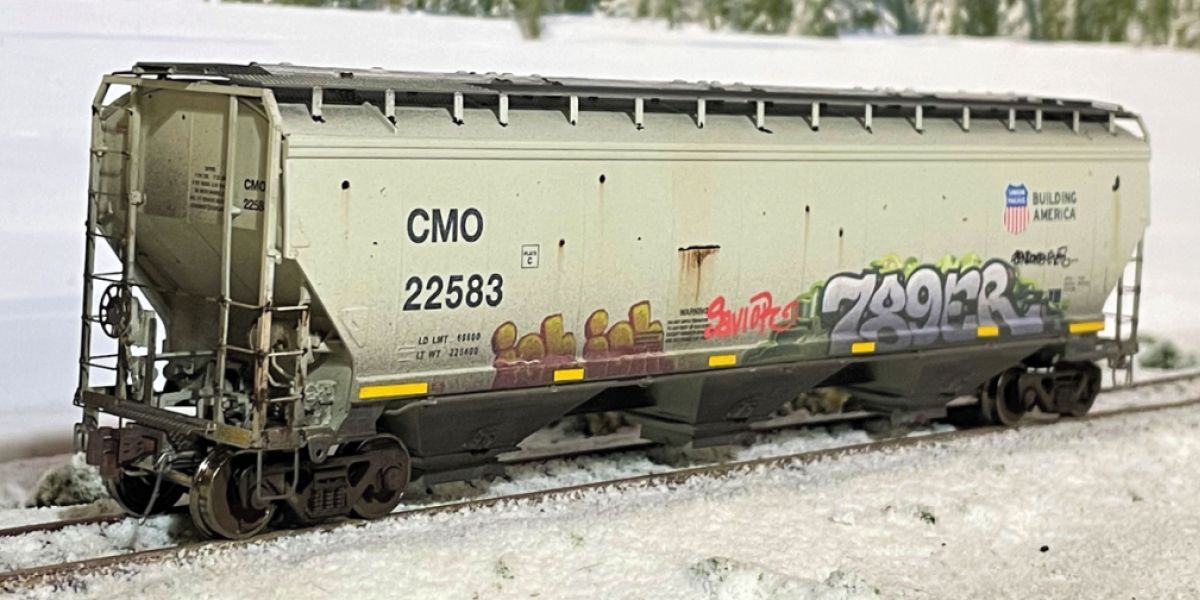
Weathering a ScaleTrains Rivet Counter HO Scale Gunderson 5188 Covered Hopper: Step by Step for All Skill Levels
Story and photos by James Lund


List of materials needed:
• Acrylic paint in dark brown, light gray and white (I use Vallejo air)
• Oil paint in burnt umber (I use Windsor and Newton)
• Odorless paint thinner (I use Mona Lisa which is available at hobby stores)
• Flat paint brushes and thin point paint brushes
• Matte varnish (I use Testors Dullcote)
• Weathering powders in assorted rust and black (I use AIM by Monroe)
• Graffiti decals and setting solutions (I use a variety of decals including Blair Line)
• Reflective safety stripes (I use Smokebox Graphics)
• Paint pens (I use Posca brand)
• Air brush (this is not necessary, a wash with a paint brush will work as well)
Step 1 – Adding Graffiti
I like to apply the graffiti decals before airbrushing the model to enhance realism by fading the graffiti and adding grime at the bottom. If you prefer the graffiti to appear new and vibrant, apply the decals after fading the model. Begin by selecting your decals and arranging them until you are satisfied with the appearance. Brush Microscale Micro Set onto the areas where the decals will be applied. Soak the decals in warm water for a few minutes, then let them rest on a clean paper towel for a few more minutes. Carefully apply the decals to the desired areas and adjust them until you are happy with the placement. Once dry, brush on some Walthers Solvaset to firmly adhere the decals to the body and conform them to any raised or lowered areas. Allow this to dry for a few hours before proceeding. After the decals have dried, spray an even layer of Dullcote over the model to protect the decals during the next steps. Remove the trucks before spraying the model.


Step 2 – Fading the Model
For this step, I use an airbrush to apply even coats of acrylic white, thinned to a ratio of 80% thinner to 20% paint. Once satisfied with the fade, I spray the bottom, lower sides, ends, and walks with a mix of dark brown and black, thinned in the same manner. This step defines the age and use of the car. For a modern look, I went medium on the fade, avoiding an old-timer appearance. If you don't have an airbrush, create a wash with the same paint and ratio, and lightly brush it onto the entire car using a soft, flat brush. Multiple coats may be needed to achieve the desired results. Once the fade and grime have dried, spray another light coat of Dullcote.


Step 3 – Adding Rust Spots, Scratches, and Streaks
I use the same dark brown mix to simulate rust, streaks, and scratches on the model. With a fine pointer brush, I add rust spots and scratches where they would naturally occur on the real prototype. Rust spots are added to areas like the roof walk brackets, step mounting areas, and other damaged body areas. Once dry, dab oil paint onto these spots and streak it down with a flat brush dipped in a little thinner, ensuring the brush is clean between steps. This process requires overnight drying. Once dry, spray another layer of Dullcote.


Step 4 – Wheels and Trucks
While step 3 dries, I weather the wheels and trucks. Carefully remove the wheels from the trucks by gently pulling the axle straight down, one side at a time. Squeeze the roller bearing caps gently before this step to prevent losing them. If a cap is lost, spare caps are included with the model. Using the same dark brown acrylic paint mix and a small round brush, paint each wheel face in a circular motion, then dab the paint for added realism. Spray the trucks with Dullcote instead of painting them to preserve their numbered detail. When the wheels are dry, use a small, soft brush to apply weathering powders (fresh rust mix). For the trucks, use a bigger flat brush to apply darker rust, going lighter to preserve the numbers for realism.


Step 5 – Finishing Touches
In the final steps, I add detail to the roof, apply reflective safety stripes, add final rust pits, and reassemble the model. For the roof hatches, dab light gray paint onto the hatches with a sponge to simulate flaking. Use a rust-colored paint pen to add small rust spots to the hatch brackets. Apply the reflective safety stripes by placing them in the correct spots and burnishing them down with the rounded edge of tweezers. Add random rust pits with a paint pen. After these areas dry, reinstall the trucks. Additional steps I completed on this model include adding silver highlights to the brake hoses, brushing weathering powder on the couplers, and painting one roof walk silver to appear as if it has been replaced. These final steps are optional but enhance realism. Now, the model is complete!


